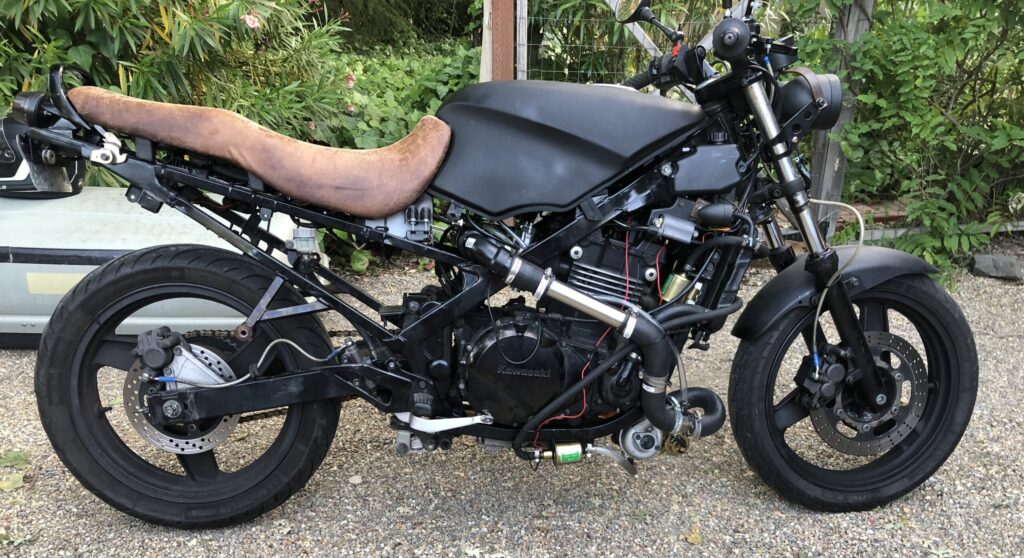
Turbo ninja 500
If you found this page from google, this is not a tutorial or a kit. If you want help or advice on how to build a turbo ninja 500 feel free to email or call/text me (contact info on contact me page). This bike did not turn out perfect but I built it in high school before I worked as a motorcycle mechanic and mechanical engineer, so my advice today differs greatly from how I built this bike. Plus I love to help
After I bought a neon green Kawasaki Ninja 250 as my first real motorcycle, I immediately started modifying it. I hated the look of the 90s green Kawasakis, but it’s what I could afford. After throwing my friend Griffin on my freshly cafe-racered Ninja, he wanted one, and somehow I convinced him to buy a nearly identical neon green Ninja 500.
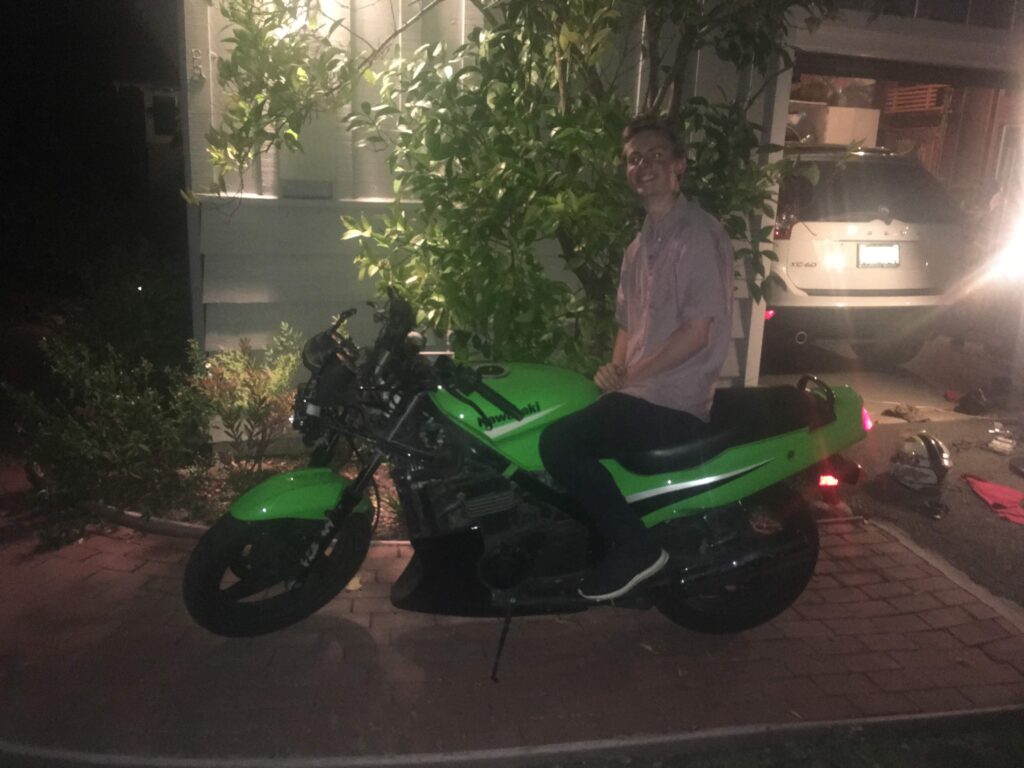
Making the bike look nice was a decent project in itself, and for both of us, this was the first time we had really done any mechanical work. Griffin rode the bike around like this for a good number of months until I bought my Aprilia SL1000. After we both took a turn on the Aprilia, we knew that Griffin needed some more horsepower, and instead of trading his bike out for a larger one, we somehow decided that it would be cheaper and easier to turbocharge his Ninja.
Sadly, we didn’t document any of the build, but don’t worry; we did document the final product.
About six months prior, I splurged and purchased two turbochargers on eBay for $100 each, telling myself that I would someday build a twin-turbocharged Ninja 600. I haven’t built that twin-turbo bike (yet), but we realized it would be a perfect size for the Ninja 500. We started by making a mistake. The first thing we did was replace the CV carburetors with flat slide PWK carbs. Overall, these are very nice carbs and did give a noticeable performance gain on their own, but they are terrible for turbocharging, and ironically, the original CV carbs are supposed to be far easier to turbocharge due to them being internally vented. After replacing the carbs, the next step was to weld together a two-into-one exhaust manifold. Neither of us had ever used a TIG welder before, but my brother graciously let us use his welder if we refilled his $100 argon tank after using the last $20 worth of gas. We cut the two exhaust pipes apart, angled them into each other, and welded them together into a cone. We then welded the turbocharger’s mounting bracket onto the two-into-one manifold and bolted up the turbo for the first time. Here was our next mistake: we started the bike and rode it for 5 minutes or so with no oil.
Anyways, after that, we went to a local auto parts store and convinced the guys to let us explore the back rooms for pieces of radiator hose that would fit our needs. We returned with our haul and created the ducting for the compressed air to go from the turbo to the carbs. Right before the carbs, we had to split the one air line to two carbs, so we used Ace Hardware PVC plumbing for a portion of our airbox.
As exhaust exits the engine, it spins a turbine in the turbocharger. This turbine is connected to an air-compressing turbine which is used to feed the engine more air, allowing you to use more fuel, which means a bigger combustion. When the compressed air enters your carburetor, it is also trying to close the float valve that allows gas to flow into the carb. To build a turbocharged blow-through carbureted bike, you have to use a high-pressure fuel pump with a fuel pressure regulator tied to boost pressure. This means that as boost goes up, so does your fuel pressure, allowing fuel to continue flowing into the float bowl. One mistake we made is that we did not adjust the float needle. When adding a fuel pump to a carb, you are supposed to adjust the float needle so that fuel doesn’t dump into the carb when not making boost. We didn’t know that you had to do this, and we had no air-fuel ratio gauge to tell us we were running crazy rich, so we struggled to keep the bike alive at idle.
We also had to provide oil to the turbocharger. Instead of using the engine’s oil pressure to feed the turbo like most people do, we made a separate oil loop with a small radiator found at a scrap yard and two low-pressure fuel pumps used to push the oil through the turbo. This was not sufficient. After putting about 10 hours of seat time, including a 3-hour ride around Mt. Diablo, the turbine shaft in the turbocharger was no longer held in place. You could wiggle it like a loose tooth. Overall though, even with all the mistakes that we made, the bike ran incredibly well. In total, we started and finished the build in two months.
After we discovered that the turbocharger was failing, we debated replacing it with the other turbo I had on hand, but in the end, we decided to remove the turbo and go back to the NA setup. Here are all the pictures and videos we took during and after building the turbo setup.
3 Responses
Sauteed calf anyone?
very very cool ! , i have been wanting to make some stuff myself, your robotic dog project made me have a look at this !
Thank you!